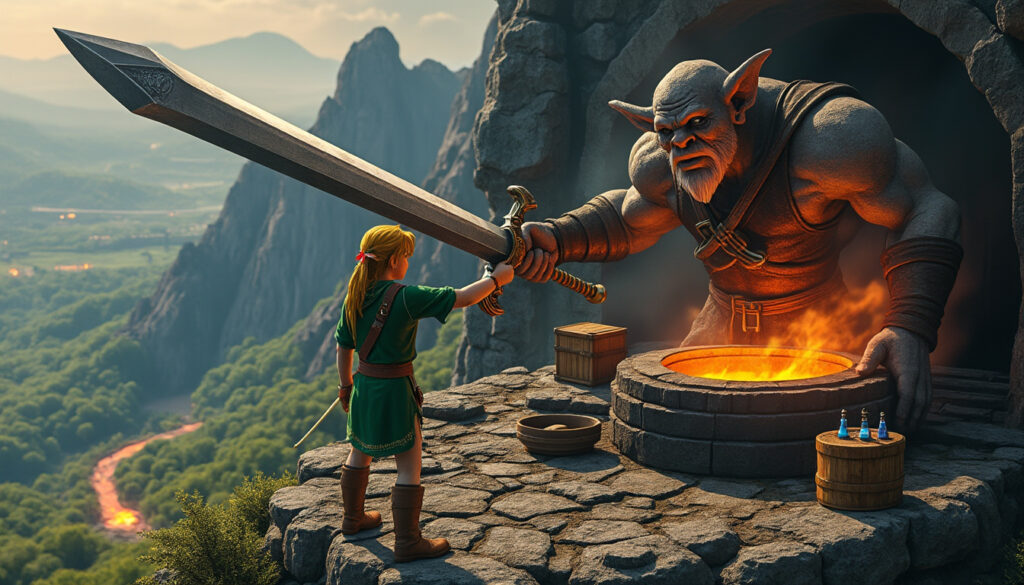
The Biggoron’s Sword quest awaits you in the remake of The Legend of Zelda: Ocarina of Time: a multi-step adventure with a few races against the clock. The reward is the most powerful blade in the game — slow and wielded with two hands, but fearsome. Ready to trade your shield for a little extra power?
Obtaining Biggoron’s Sword takes more than a quick visit to a blacksmith: you must complete a series of trades, carry fragile items, and meet several deadlines. This guide details the route from Kakariko Village to the summit of Death Mountain, along with useful preparations and the moments when speed really matters. In the end, this optional weapon deals more damage than the Master Sword, but wielding it involves a few compromises.
The quest takes place during Link’s adult period, so there’s no need to switch between his two ages. Your goal is to have Biggoron repair a broken sword, but each step requires a specific trade. Keep track of the person who gives you each item, since the next recipient isn’t always clearly indicated.
The reward is the most powerful sword in the game, and it can make some battles much quicker. In exchange, Link has to wield it with both hands: he can’t hold up a shield at the same time. It’s also slower than the Master Sword, so choose your attacks carefully.
The route includes two real races against the clock. The mushrooms and Eyeball Frogs spoil if you take too long, and teleporting can make matters worse. Having a horse ready and knowing the routes well will save you unnecessary backtracking.
Preparations before you begin
You must have reached adulthood and freed King Zora from the red ice in Zora’s Domain. To do this, complete the Ice Cavern and obtain some Blue Fire. Without the thawed king, you won’t be able to get the item needed for the Eyeball Frog step.
It’s very useful to have already tamed Epona, especially for the timed journeys. The Bolero of Fire also makes it easier to reach the summit of Death Mountain, but this melody is optional. However, avoid using warp songs during the timed sections: they can reduce your remaining time to just a few seconds.
From the Pocket Egg to Cojiro
Start in Kakariko Village, with the young woman who tends her Cuccos near the village entrance from Hyrule Field. She gives you a Pocket Egg. Let one in-game day pass for it to hatch, or play the Sun’s Song twice to speed up the wait.
Once the egg has hatched into a Pocket Cucco, head to the large house near the center of the village. Talon is fast asleep inside, and the little bird can wake him up. After this scene, return to the Cucco Lady to receive Cojiro, a blue Cucco that will help you continue the trading sequence.
Take Cojiro to the Lost Woods and follow the path to the left from the entrance. You’ll find the place where the young Skull Kid used to sit, near a tree stump. A man is asleep there: use the Cucco nearby to wake him.
The man then gives you an Odd Mushroom and asks you to take it to an old woman in Kakariko Village. The deadline is tight, around four in-game minutes. Don’t linger in the Lost Woods, and plan your route straight back to the village.
Delivering the mushroom on time
From the exit of Kokiri Forest, call Epona and ride to Kakariko Village. The horse lets you cross Hyrule Field quickly, making this race much more manageable. A warp song isn’t a recommended shortcut: time may pass during the journey, and the mushroom could spoil.
The recipient is in a house you can reach by going through the back of the Potion Shop. Enter the shop, leave through the back door, then reach the neighboring house from the courtyard. Give the mushroom to the old woman to receive an Odd Potion.
This delivery is one of the parts where a cutscene or detour can cost you the race. It’s best to do this step when there’s no chance of a village event triggering as you arrive. If the deadline expires, simply return to the man in the Lost Woods to get another mushroom.
The potion isn’t subject to a countdown, so you can return to the Lost Woods without rushing. However, the sleeping man has disappeared by the time you get back to the stump. Fado is waiting in his place, with a mysterious explanation about the fate of humans who get lost in the forest.
Fado gives you the Poacher’s Saw, without clearly telling you who its next owner is. You need to take it to the master craftsman near Gerudo Valley. This step turns a series of small trades into a true quest across Hyrule.
The saw, the broken sword, and the prescription
Make your way to the outskirts of Gerudo Valley with the saw in your possession. If you’ve completed the Spirit Temple, you can cross the bridge normally; otherwise, Epona can leap over the gorge with a well-timed jump. The master craftsman takes the tool and gives you a Broken Goron’s Sword in exchange.
Your next destination is the summit of Death Mountain, where Biggoron works outside. If you know the Bolero of Fire, use it to reach the crater quickly, making sure to equip the Goron Tunic. Without the melody, you can walk up the usual path.
Show the broken sword to Biggoron. He agrees to repair it, but can’t work without a remedy for his irritated eyes. He gives you a prescription for King Zora. The item is now taking up space in your quest, but the upcoming journeys aren’t timed yet.
Return to Zora’s Domain and speak to the king, who is now free of the ice. In exchange for the prescription, he gives you an Eyeball Frog, an ingredient that the scientist at Lake Hylia needs to examine. This time, you have about two and a half minutes to deliver it, so you need to set off right away.
If Zora’s Domain has thawed, the underwater tunnel to Lake Hylia is a convenient route. Locate the scientist’s house near the lake in advance so you don’t waste precious seconds looking for the entrance. Don’t play the Serenade of Water to warp: the frog could spoil before you arrive.
The scientist turns the ingredient into Eye Drops, which are essential for the repair. This new preparation is perishable too, and must be delivered to Biggoron at the summit of Death Mountain. It’s a long journey, but a horse and a well-planned route make the delivery possible.
From the lake, call Epona and race toward Hyrule Field, then Kakariko Village and the mountain. Avoid warp songs: they can drastically shorten the time you have left, making the climb impossible. On the trail, dodge the rocks as much as you can, and don’t stop if Link gets hit.
Delivering the eye drops and collecting the sword
Once you reach the summit, give the eye drops to Biggoron before they lose their effectiveness. The giant can then begin the repair and gives you a Claim Check while you wait for the work to be completed. The crafting takes three in-game days, but you don’t have to stay there.
You can do other things while you wait, or speed up time by playing the Sun’s Song six times. Then return to Biggoron and show him the Claim Check. He finally gives you Biggoron’s Sword, a powerful two-handed weapon that completes your equipment for the rest of the adventure.
Tips for completing the Biggoron’s Sword quest
The Biggoron’s Sword quest takes place entirely during Link’s adult period, so you won’t have to go back and forth between the two periods. Before you begin, make sure that Zora’s Domain has thawed: you need to have gone through the Ice Cavern and obtained Blue Fire to free King Zora. Having Epona is also very useful, since several steps require you to travel quickly. The Bolero of Fire can make it easier to reach the mountain, but some perishable items won’t survive being warped.
The trade deadlines are the trickiest parts. When the man in the Lost Woods gives you the Odd Mushroom, you only have a few minutes to deliver it to the old woman in Kakariko Village. Avoid detours and warp songs: instead, call Epona near the exit of Kokiri Forest and gallop across the field. The countdown for the Eyeball Frog is even tighter. You need to take it to the Lake Hylia Laboratory without warping, then race to the summit of Death Mountain with the remedy prepared by the scientist.
Also prepare the necessary equipment before setting out: the Goron Tunic is essential for the heat of the crater, and you won’t be able to use a shield while wielding the sword. It’s a two-handed weapon. It’s slower than the Master Sword, but its strikes deal more damage, which can be invaluable against tough enemies and bosses. Obtaining it is optional: if you prefer defense or fast attacks, keep the Master Sword equipped until you reach battles where the extra power will be useful.
Finally, keep the Biggoron’s Claim Check safe. Crafting takes three in-game days; you can wait by continuing your adventures or speed up time with the Sun’s Song. Present the Claim Check to the blacksmith once the time has passed to collect your new weapon.